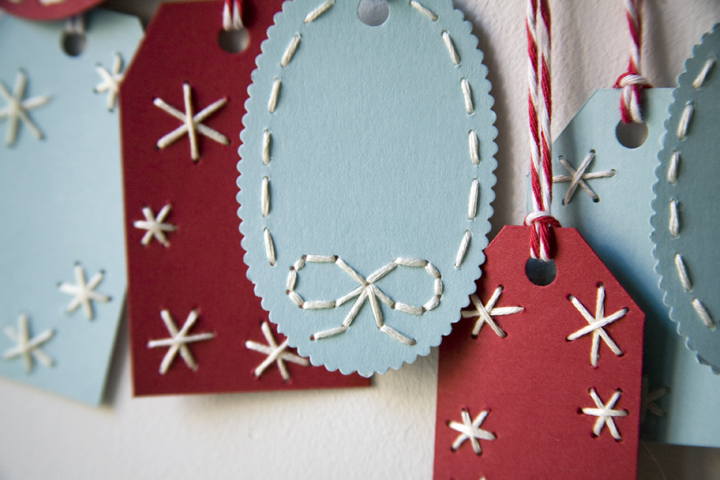
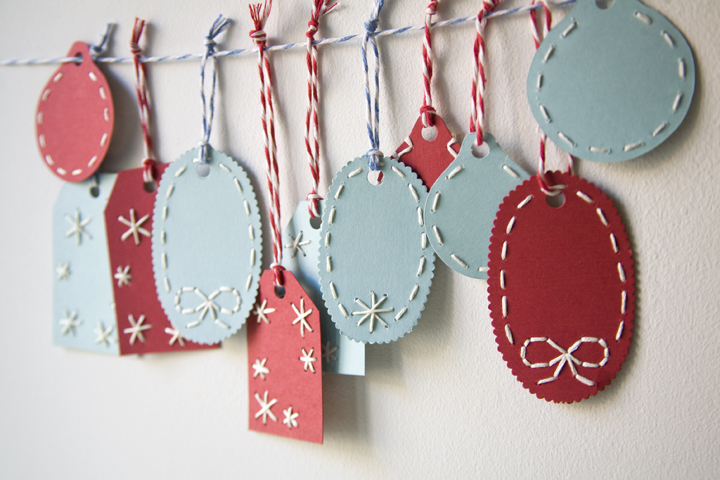
Recently I created these embroidered gift tags for a demonstration at the uptown Kate's Paperie. They've been so kind as to make a template and project page for this project. It's the perfect time of year to craft your own simple, fun gift tags, so I thought I'd share how to make them with you. You can download the project template here (or visit Kate's craft page for the template too.) I've included the materials list and instructions (with a few additions).

Tools // Materials:
+ cover stock
+ scissors
+ cutting mat
+ hole punch
+ awl (or other sharp tool for piercing a small hole in paper
+ card board
+ needle
+ thread (embroidery thread works best)
+ ribbon or baker's twine to tie tag
1. Cut out the tags. (TIP: If you want for your thread to show through the back, you can cut off and disregard the attached mirrored tag. Otherwise, fold the tag in half for a neat backing

2. Take the tag printed side up and using your awl, punch through all the black dots. It best to do this on a few sheets of card board.
3. Cut a length of thread about 15" long and tie a knot at one end. Thread your needle and begin stitching your tags.
4. When you’re done stitching and your thread is pulled through to the back of your tag, tuck your thread under the closest stitch and tie a knot. If you want a back to your tag.
The bow tag is done with a simple back stitch.

5. Use your hole punch to make a hole in your tag. Lace some matching thread and tie a knot.
You can make sure this cute handmade tag is recyclable by writing something reusable to the recipient like, “For you!” or “A little something just for you…”
|
|
If you make these tags I'd love to hear how it goes or even see a picture! Please share!! You can email or link me to your flickr...
|