DIY String Sculpture
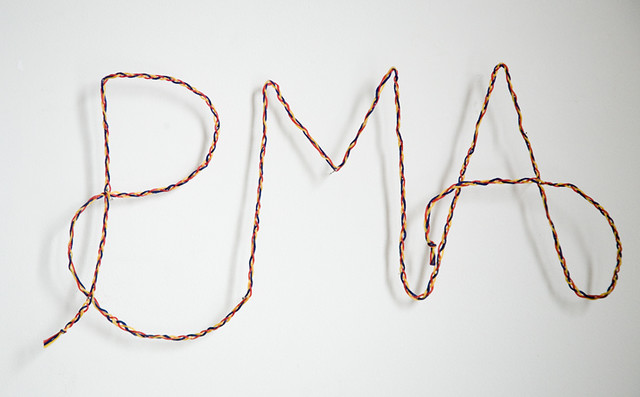
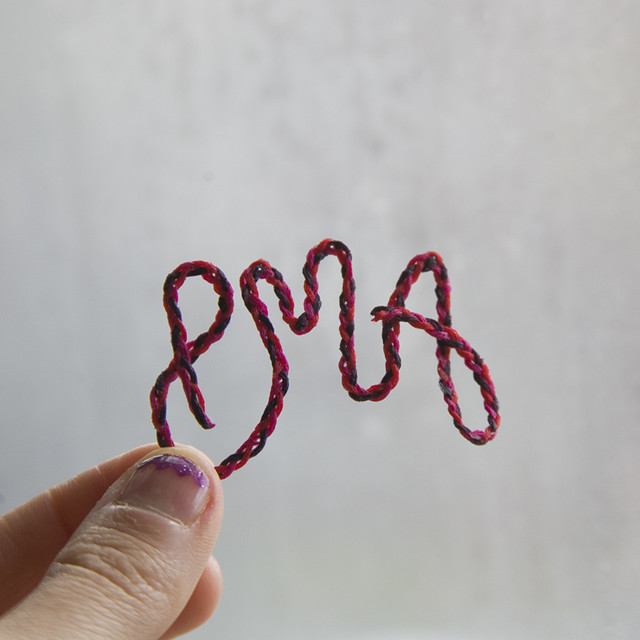
I've had this idea of floating letters for awhile now and really wanted to make them. I'd love to make a wall of these letters- how amazing would that be? But you don't have to stick to letters. A silhouette, simple illustration or abstract shape would work nicely too. Now I just want to spend the day making string things.For my test I made a miniature PMA (Positive Mental Attitude, which I've blogged about before) and I quite like this little positive affirmation. Nix (who makes drop dead beautiful drawings!) of Fernbeds suggested framing it in a shadow box, so now I'm on the hunt for a tiny shadow box.
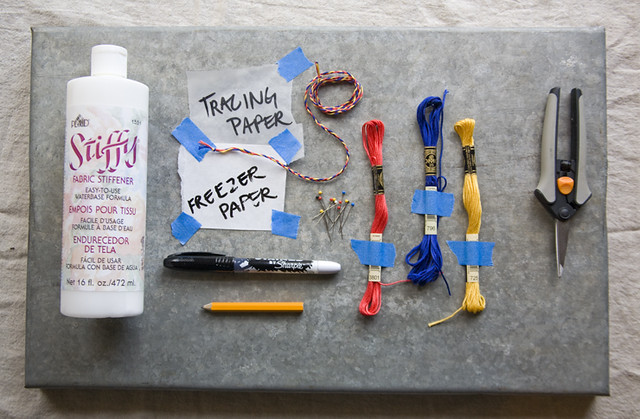
Thread or Yarn - I used embroidery floss
Tracing paper
Pencil, eraser & Sharpie
Freezer paper
Tape - I love painters tape.
Cardboard piece that's as large as your sculpture
Sewing pins
Craft brush
Fabric stiffener - I used Stiffy Fabric Stiffener (insert chuckles here)
- Braid three threads together to form a thicker string.
- Create your pattern on tracing paper using pencil and then trace over with sharpie.
- Flip over the tracing paper so that it's in reverse and layer over a piece of freezer paper, matte side up. Retrace with sharpie. You only need this step if you are making text or a pattern that is not symmetrical.
- Tape the freezer paper, glossy side up, to your cardboard piece. Your pattern should read normally, not in reverse. Pin your thread to the cardboard following your pattern.
- Paint the stiffener on with a craft brush until the treads are fully saturated. Set aside to dry over night.
- Once it's dry remove the pins and scrap away the excess stiffener on the edges of the thread.
- Hang with sewing pins or mount in a shadow box.


Hope you're enjoying your weekend. Did you make anything?!
Oh, that's so clever!
ReplyDelete